Frequently asked questions
- video review about materials –
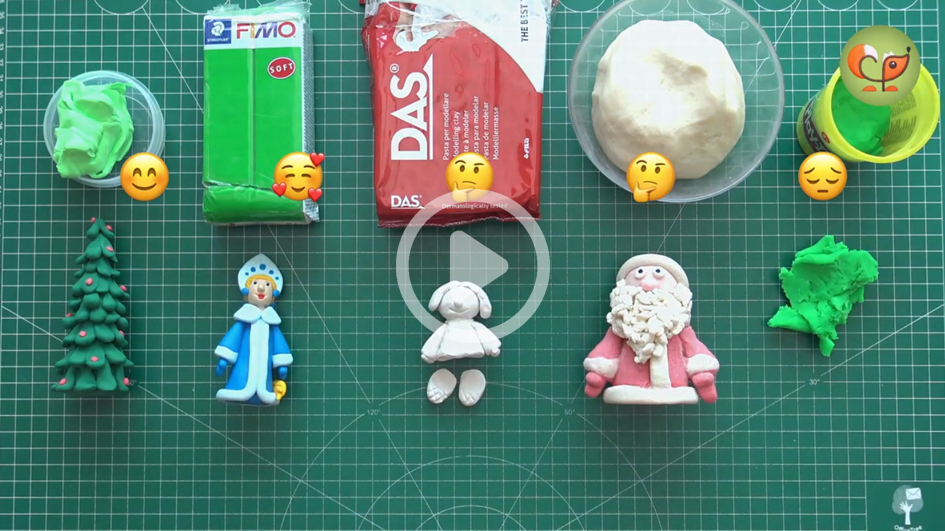
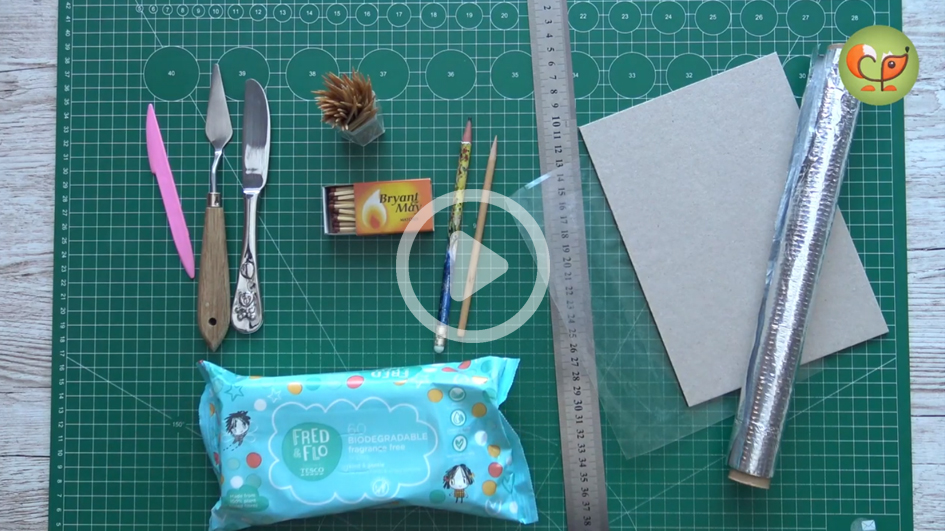
✔️ Plasticine
✔️ Toothpicks
✔️ Stack (knife)
✔️ Pencil
✔️ Ruler
✔️ Wet wipes. For cleaning hands, tools and table surfaces.
Many people ask about the table cover
1. It is enough if the table is covered with ordinary oilcloth.
2. If you still want a mat like mine (Cutting mat A2), you can find it in specialized stores or online
UK - https://amzn.to/2R24FWh
US - https://amzn.to/3dBywwq
For making pictures, I use cardboard with a thickness of at least 2-3mm
UK - https://amzn.to/3cQkfwU
US - https://amzn.to/3wtYBpJ
- video about hardness –
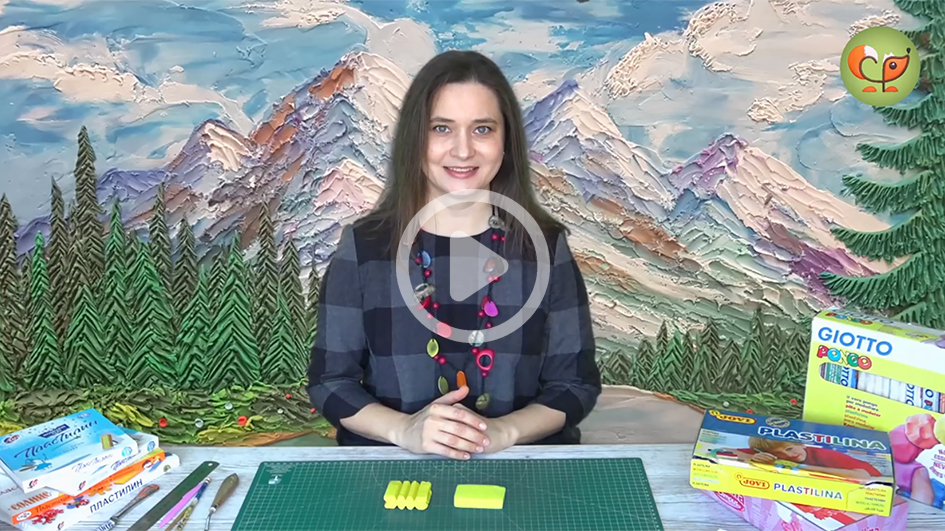
In terms of hardness, plasticine can be:
⭐ SOFT ⭐
Suitable for making flat products - paintings, appliques, etc. It is easy to smear over the surface.
UK - Jovi, Colourclay, Plasticine
US - Jovi, Plasticine, Prang
Extra soft plasticine – not suitable for figurines making.
UK – Pelikan
US – Claytoon
⭐ HARD ⭐
Great for sculpture and figurines.
To knead/warm such plasticine, you need to make a lot of efforts. But, having taken the necessary shape and cooled down, it becomes almost "stone".
UK - Giotto Pongo, Newplast
US -
Russia - Gamma, Ray
Of course, it is convenient when you have several packs at hand at once, but it is not necessary to buy all the sets of plasticine. One box is enough to start. For babies, take any soft plasticine of your choice.
See my channel for a full review with links.
- Review of plasticine in the UK / Europe –
- Review of plasticine in America –
A good question, because the kid will hardly be able to make a beautiful figurine from a large heap of pieces piled together.
Therefore, sorting by colors is simply necessary:
✔️ First, the kid easily finds the color he/she needs.
✔️ Secondly, you can see what color is coming at an end.
✔️ Thirdly, the orderly storage of materials is the basis of aesthetic education.
Wherein to store
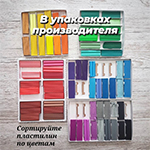
💡 The product of a domestic manufacturer is packed in boxes with cells. Buy 3-4 identical sets at once and sort them according to the color principle.
💡 Plastic organiser. Can be found in any hobby stores.
💡 Zip packages. They are transparent, so you to see the contents. Besides, they are securely closed, so the material will not dry up and get dusty.
💡 Plastic containers (or jars for sour cream). They have a tight-fitting lid and compact dimensions.
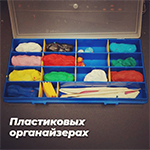
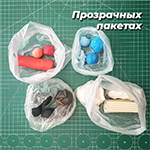
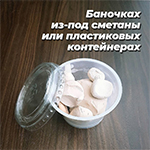
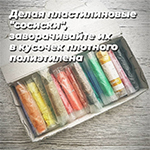
In fact, the options are not numerous:
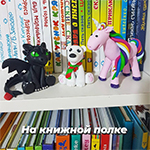
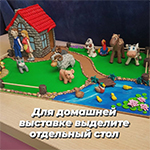
💡 On a shelf / on a table
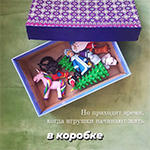
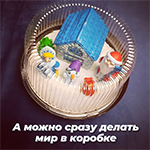
💡 In a box
Since I am not only an artist, but also a RFL teacher, I think, it is boring and dully just to model figurines. But creating plasticine worlds and inventing stories is not only more exciting, but also more useful ;)
This is where our imagination turns on and an ordinary box turns into...
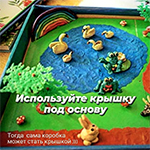
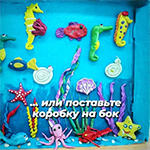
☝️ Never throw away old plasticine crafts. Get a special box and put everything there. When a lot of toys accumulates, disassemble and sort them out (if possible) by color. Mix each piece up. You will get rich, complex shades that can be reused for new crafts.
When the colors can't be separated
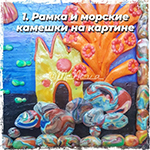
💡 If not mix the piece completely, you get "marble stains". With this effect, you can make:
- A picture frame.
- Space or sea objects in a picture.
- Perfect figurines of dragons and dinosaurs.
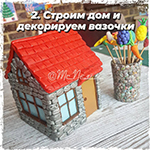
- You can build a fortress or a house from the multi-colored "pebbles".
💡 When mixed up very well, there will be a huge piece of one tone suitable for creation of:
- A base for papier-mache.
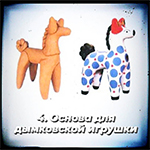
- Folk toys. Carefully coat the plasticine figurines with flour (or tooth powder) and paint with gouache.
- Model a large base of a craft, and decorate it with fresh, colored plasticine.
- It is easy to create and come up with new ideas with it - you are no longer distracted by color, but look at the volume and scale.
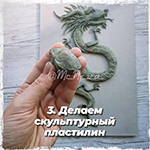
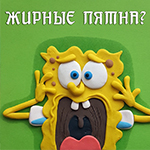
When making plasticine pictures with kids, the background is often not painted over, because this work is boring and tedious.
Of course, it would not matter if greasy spots did not appear over time. They can both come from the reverse side, and frame the figurine itself. And this is expected, as wax is one of the components of plasticine.
There are several rules, follow them and you will never meet the problem of greasy spots.
❌ Do not draw on normal-type paper, it is too thin and crumples when you start smearing plasticine.
❌ Do not use rough cardboard. Of course, it is better than paper, and nothing will definitely appear on the back side. But over time, greasy spots appear around the character!!!
✔️ Prepare the surface, as professional artists do. Cover the cardboard with gelatin glue or acrylic primer. You can find it in art stores or at Amazon.
✔️ In the same way, the surface can be primed with ordinary PVA glue.
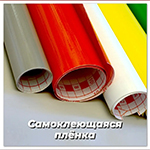
✔️ Cover the cardboard over with self-adhesive film. It can be of incredible shades and you can choose a color palette for any topic. Of course, you can also use ordinary tape, but mind, that it forms joints that are uncomfortable to work with.
✔️ Optional, the sheets can be laminated.
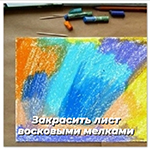
✔️ Try to paint over the work surface with wax crayons. This will make the picture bright and eliminate the appearance of spots around the character.
✔️ Draw on unusual surfaces: on plastic lids, plates, plexiglass, etc.

Plasticine needs heat to be softened. But the heat should be dry. Put it in a warm and cozy place.
✔️ Warm it up with your hands
Time permitting and the volume of plasticine is small, then just hold it in your hands. The body temperature is quite enough to warm the plasticine (of course, the hands must be warm). If at the same time you crumple the plasticine up, then the process would be speeded up.
✔️ In the sun
If the sun is shining brightly, then you can put plasticine on the windowsill.
✔️ On the battery
If there are hot batteries in the apartment, then you can put plasticine near the battery.
✔️ In a water bath
Place the plasticine on a plate and put it on a saucepan with hot water.
✔️ In warm water
Take a glass of warm water (in no case with boiling water). Put plasticine of the same color in a bag. Close it and place it in water for 30 seconds. Carefully remove it.
❌ In the microwave
Some craftsmen warm up plasticine in the microwave. I do not recommend it . Plasticine is very easy to be overheated, besides, after heat treatment, it becomes brittle.
Of course, in the United States and Great Britain, there are almost no brands so hard that children can hardly stretch. But still, when faced with such a problem, you will know what is to be done.
Copyright © 2021 | Crazy Plasticine

